Saturday, June 21, 2014

Clothes on the Line!

Well, yesterday I used my new clothes line for the second time. Normally I do the laundry on Wednesday but it was raining so I didn't get to it till Friday. My wonderful husband Eric built it for me. I can't tell you how happy I am to have it up. He finished it last Wednesday, just in time for wash day! 
 
Had to run to the local Family Dollar store and buy new clothes pins though. I must have left my old ones back in WA. Totally a bummer too! The ones that they sell now are made so cheaply that they come off if you don't get them on just right. If anyone knows where I can get some good ones let me know. I've looked everywhere and they seem to be all the same. Made in China! 
 
Until now, I have been hanging a few clothes out on a couple of free standing racks and a short line on the front porch. It wasn't enough space for all of the laundry but it helped. So nice to have the space to hang all of it now.
 
I have such a handy husband. The whole project was made with what we had on hand with the exception of the concrete & line. So, about 20 bucks got her done. Not the prettiest, but definitely functional.
 
I know that most people wouldn't think of laundry as an exciting thing to do but I really enjoy hanging it out. I especially like taking it down. It smells so nice and I take advantage of the time it takes to reflect. I usually wait till evening before the sun goes down. It is very peaceful. Call me crazy, but I love it.
 
Thanks honey!
 

Sunday, June 15, 2014

YouTube

I know that I haven't been posting much to my blog lately. We have been outside working on the homestead every day. So much to get done! Since hubby has been here I am taking advantage of him. Many projects just need his expertise.

I have posted a couple of videos to YouTube finding it much quicker to do with the limited time that I have had in the house. My latest video is The Consequences of Over Grazing. You can view it by clicking the title.

My other videos are...

Homestead Beginnings

Growing Potatoes & Garlic in Hay

Layered No Dig Vegetable Gardening

I will try harder to get my posts up on the blog though. It is just a matter of setting aside the time. I'm still adjusting to our lifestyle change as well as wanting everything outside to be done NOW! It's a juggling act I'm still working out. I'll get there eventually.

In the mean time bear with me. I'll be posting to the blog and YouTube and will be posting links to both on the My Homesteading Project Facebook page.

Thanks for your patience.

As always, Like, Subscribe, Comment & Share please and Thank You!

Have a great evening!
Tina :)

Wednesday, June 4, 2014

Suprises, Sunburn & Honey Lemon

Greg & Kara (sorry guys, only photo of the 2 of you I could find)
 
We have been very busy here on the homestead! Our oldest son Greg & his girlfriend Kara drove out from WA to surprise us for Memorial weekend. They arrived on Saturday afternoon and were able to stay until Monday afternoon. It was so great to see him. We had a great couple of days. I was very sad to see him leave, but what can you do. Gotta let them go and live their own lives I guess. Just wish he wasn't 1000 miles away.

Over Memorial weekend, while the kids did some sight seeing, I decided to weed eat in front of the house again. You would never know by looking at it that I just did it a month ago. It was really overgrown already. The weather was beautiful and in the 70's so I thought that I would wear a tank top for about an hour to even out my skin. (I have a bit of a "farmers tan" thing going.) As you can probably guess, it was a little more than an hour when I went in to switch to a t-shirt. Too late! I was burnt to a crisp! Now my back is all itchy and peeling and just plane nasty looking. So much for evening out my color. I sure paid for that lapse of judgment!


Now for the super exciting news! We have our first official farm animal on the Stowers family farm. Say hello to Honey Lemon, our new goat!

Isn't she beautiful!!! I found the add on Craig's List for her and called immediately. I have been following a local blog and coincidently, she has Honey Lemon's sister Chamomile and just loves her. (Small world huh!) Chamomile just had triplets in April. Hopefully, Honey will too. A couple of doelings would suit me just fine. 

Honey Lemon is a 3yr old Alpine who is currently pregnant. I absolutely love her to death as does Eric & the kids. You would think that she was a family pet instead of a dairy goat. Honey just follows us around the property like a puppy. I love it when she comes up and nestles her head against me like she is giving me a hug! I feel so blessed to have been able to find such a great doe. Since we are just starting out with goats, it is fabulous that our very first one has such a great temperament.

We brought her home on Wednesday. I did feel a little bad taking her away though. The kids all came over to say goodbye and there were quite a few tears. I promised to take good care of her and love her. I'll make sure to send photos of the babies when they are born so that they can see that all is well. I know that is no consolation for a little girls broken heart though.

She rode home in the Suburban without a hitch. (Our truck is still in WA and I don't have a trailer.) Just stood there looking out the window the whole ride home. No "accidents" or issues. It was awesome. Once we arrived at the house, she made herself right at home. She likes hanging out in the garage with us. That way she is sure to get petted and brushed a lot. Honey has definitely adopted us as her family.

She did escape the barn a couple of times. Longer screws, bolts and better latches keep her in at night now. Each time our little Houdini escaped, she ran right over to the garage though to find us. Since hubby Eric practically lives in there we have had no issues.

Eric took her for a walk the other day on the dog leash to talk to Fred who's fields neighbor our property. It was a cute sight to see, both of them strolling down the gravel rode. Wish I had taken a picture. Priceless!

Over all, things are going great here. Lots of projects in the works. Eric has checked a few things off of his "Honey Do" list and I have gotten a few things done myself. We are living the good life here. I am so blessed!

Enjoy your life!
Tina


Tuesday, May 27, 2014

How To Care For Wooden Cutting Boards & Utensils


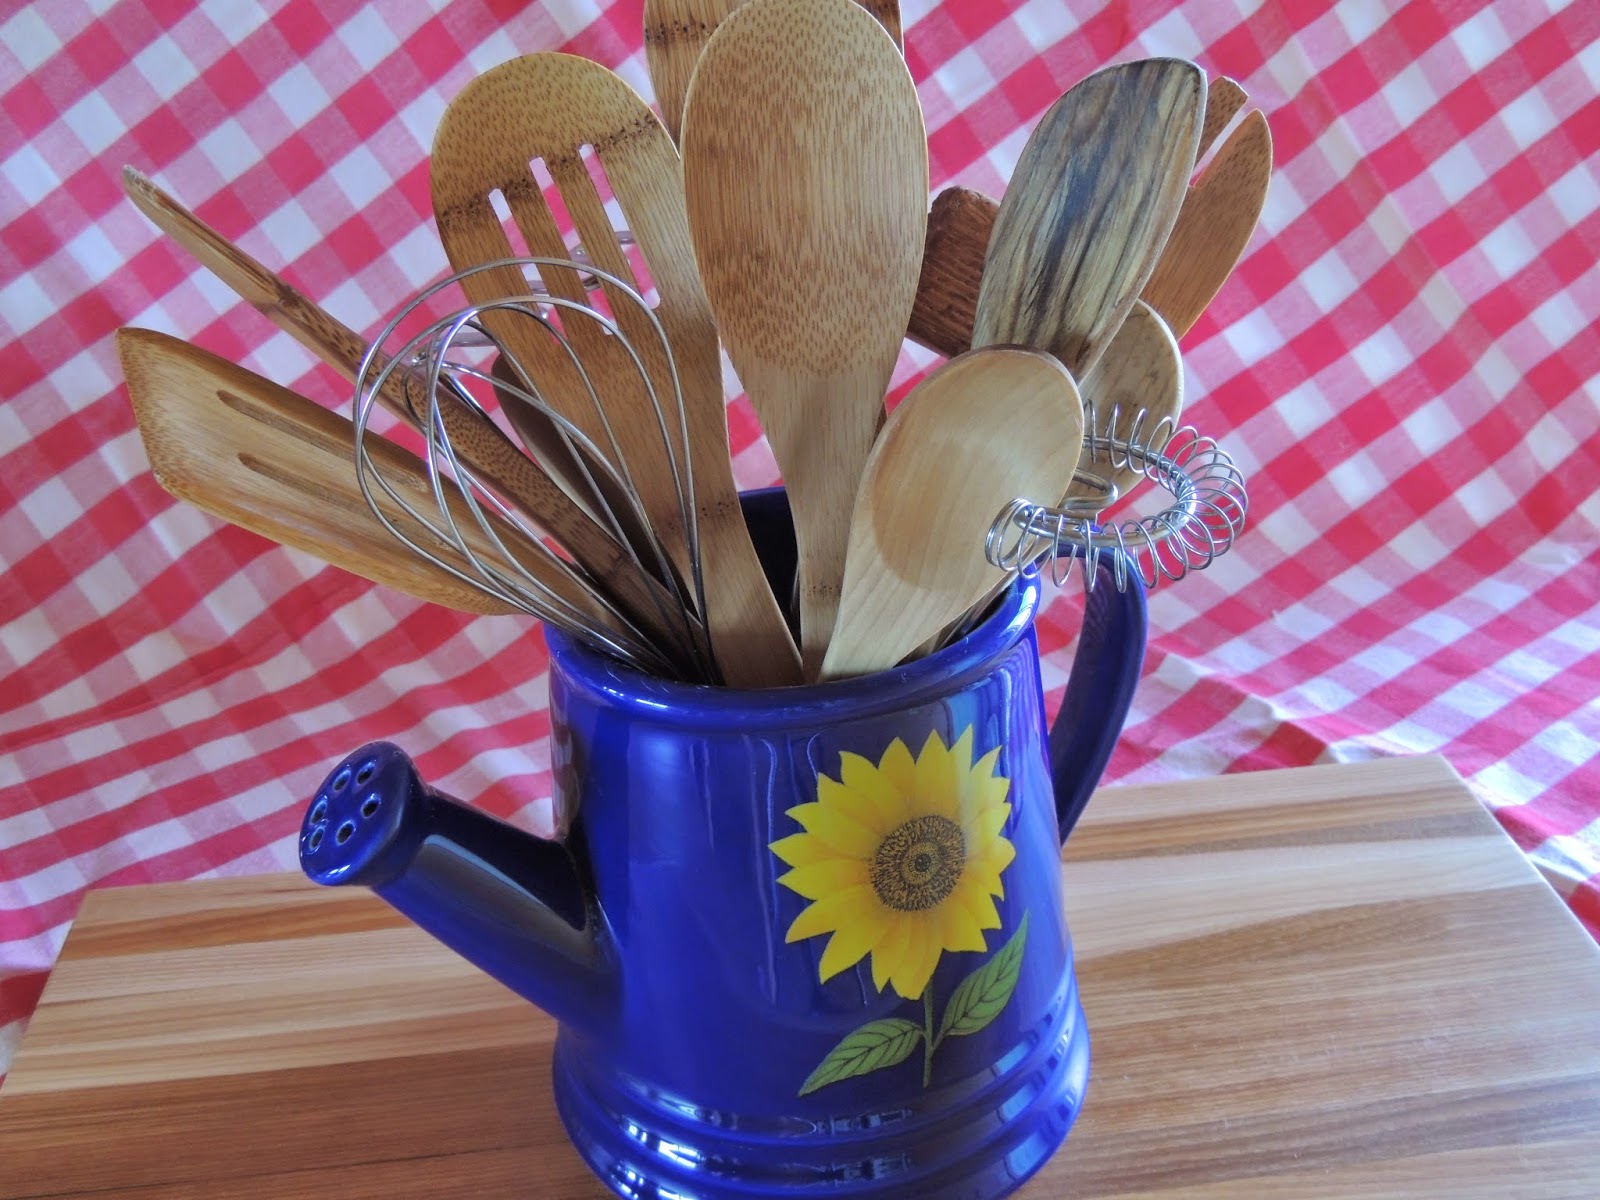
My wooden spoons and utensils are my favorite go to items when I'm cooking and baking. I have gone through dozens of them over the years. Not only are they handy in the kitchen, they instill heart stopping fear when whacked against a door frame followed by your "angry" voice. (I've broken more spoons that way.)

Lately they have been looking a bit worse for wear, so I thought that I should look into ways to keep them at their best. Also, my Father-in-law made me a beautiful hickory wood cutting board for my birthday this year. I wanted to know what the best way for finishing it so that it lasts for a good long time.

First we will discuss the properties of wood. Trees have natural antibacterial properties. When wood is cut from them, the tree doesn't cease to retain these properties. Your wooden spoons and boards still contain their antibacterial structure. Several years ago, plastics manufacturers convinced everyone who would listen that plastic was much cleaner and safer to use. Not True! Plastic not only contains harmful toxins but actually harbors bacteria in all the cracks and crevices. Wood is better!

Now, I season my cast iron with lard but I knew that probably wouldn't be appropriate for wood. Surprisingly though, some people do this. They also use olive oil and various vegetable oils as well. Overstock.com even recommends it for the wooden cookware that they sell. Lard & other animal fats, olive oil & vegetable oils go rancid and become sticky after time though. So I didn't want to use those.

I found that the main thing that people are using now is food grade mineral oil. It is touted to be a food safe & natural product. So, off I went to buy some. It was very inexpensive at the pharmacy, but I started reading the label before I bought it. I'm glad that I did. Although it is approved for human consumption, it is a petroleum based product. As I began reading the warning label regarding children, pregnant women and such, I decided that I wasn't comfortable cooking my families food with utensils coated in mineral oil. Back to the beginning!

Next line of research was searching for what woodworkers actually use when they create these things. Although most of them use the mineral oil, I did find a couple that use an alternative... Walnut Oil (affiliate link). Eureka! I had finally found my natural preservative for my wood ware.

Walnut oil is made from English walnuts (sometimes called Persian walnuts). It is made mostly in England, France, Australia & New Zealand but also in California. What makes it idea is because it dries quickly, doesn't yellow, it is edible & resists oxidation and rancidity. It also hardens over time. It is not terribly common though, so it is a little harder to find. It sounded perfect though!

After reading up on the different ways to use walnut oil, I decided to do a two step application. First step will be oil alone & the second step will be an oil/beeswax mix. I'm getting ahead of myself though. First you need to get your wood prepped.

The items that you will need to rejuvenate all of your wooden spoons/utensils & cutting boards are...
      * Fine sand paper (I used 220 grit)
      * Clean rags (preferably cotton)
      * 100% Walnut Oil
      * Organic Beeswax (affiliate link)
      * Double Boiler pan (I used a pot and a mason jar)
      * Form for wax (canning lids is what I used) optional
 
If any of your wooden items are cracked, don't use them for cooking. If you want to display them decoratively that's fine. Discard them if not. Sand down any rough edges or anywhere the wood grain has raised. Get any fuzzy spots too. If your cutting board has deep cuts in it you will want to sand down the surface as well. Make sure that you go with the grain when sanding. You want it to be nice and smooth. I sanded all my utensils and my cutting board. Wipe down everything down after you are done with a dry cloth.
 

Next, I applied a liberal coat of walnut oil to everything. The spoons that I have had for a long time, I only needed one coat. I put three coats of oil on the cutting board because it is new and has never been treated. Allow 24hrs between coats to let the oil soak in. Go with the grain in this step too. You want to get to the point where the wood won't absorb any more oil. Wipe it down with a dry cloth to clean off any excess. The oil has a nutty smell that I really like.


After applying the oil, if you have new wood that you are treating for the first time, you may have spots where the wood has swelled and feels fuzzy again. Just lightly re-sand and wipe down those areas. If it appears dry afterwards, you can apply more oil.

Next, I made my oil/wax. I decided on one part walnut oil (1/3 cup) and two parts beeswax (2/3 cup). I knew that I wouldn't need that much for this project but I won't have to make it again next time I want to re-season or if I buy anything new that needs an initial treatment.

I used a pot with a vegetable steamer pan and a mason jar to melt everything together. Initially, I melted the wax and then added the oil but, oops, the wax hardened back up due to the cooler temperature of the oil. So, just add them together and stir until melted and blended. I used a wooden skewer stick to stir.


After it is done, I poured the wax into canning lids. I put them on waxed paper just in case any liquid seeped through. Let them cool and set up. You could just let it harden in the jar but I found that it is easier to apply the wax by rubbing it directly on the wood.


Now that I had my was pucks, I simply rubbed the wax directly on the wood. I snapped them in half to make application easier. The warmth of your hands and the friction of the wood make it easy to really get a good thick coat on. Don't worry about going with the grain on this step. Just work it into the wood well. If you end up with a bunch of little broken pieces that is ok. You can always re-melt it.


 The final step is to buff the wax. I used a new chamois cloth for this. If you have ever waxed wood floors or your car, it is just like that. Rub until the surface is smooth. Beeswax is not a high gloss wax but it will have a nice sheen.


That is all there is to it. I know that it is a lot of steps and takes a few days if you have to add multiple oil coats but it is well worth the time and effort. With proper care and maintenance, your wood will last a lifetime.


To insure that your wooden kitchen wares are at their best, here are a few tips.

      * Never put wood in the dishwasher. It will dry out and crack.
      * Don't let your spoons "soak".
      * Wash in warm soapy water by hand to clean.
      * Periodically inspect for cracks or damage. Re-treat as needed.

***A WORD OF CAUTION***

If you, a family member or someone that you cook for has nut allergies, you may not want to use Walnut Oil! I do not know if they would have a reaction, but I would err on the side of caution and not use it. There is  Cutting Board Oil(affiliate link) available.

Tina:)

Monday, May 5, 2014

How to Make a Goat Milking Stand / Stanchion


Who needs a milking stand? Todays Make it Monday project is a DIY for the homesteader. I built this stand today with materials that I had on hand around our place. Honestly this didn't cost me a dime today! Almost everything is from FREE materials. Gotta love that!

Now, I know that I don't have a milking goat yet... I believe in being prepared though. This last week I started building our goat barn. With help from my daughter Janie and son Eric Jr., we erected the walls. I still have a lot to do on it though. Frame the entrance, reinforce with some 4x4s, put a roof on it and install stalls. It is defiantly a work in progress. Here's a photo of how it looks so far. I'll post more as it progresses.

Today however, I decided to build my milking stand. You can use it for more than just milking though. Anything that you would need to keep your goat still for (hoof cleaning & trimming, shaving, vaccinating) can be done on this stand. Since I plan on purchasing a doe in milk, this is something that I would need to have in advance. Now I do.

Tools that I used for this project were:
     *Chop Saw
     *Circular Saw
     *Drill
     *Hammer
     *Tape Measure
     *Pencil

The stand was made using the following materials that I had.
     *40x40 pallet
     *scrap plywood
     *scrap 2x6s
     *scrap 2x4s
     *scrap 1x4s
     *roofing nails
     *assorted screws
     *carriage bolt & nut
     *washers
     *latch hook     

As I said, all of these materials were free. The only things which I paid for (so long ago that I couldn't even tell you how much they cost) were the latch, screws and plywood. The pallet and other wood scraps were here on the property when we moved here. Score!


I snapped a chalk line and cut the pallet at 28" for the base. This pallet has two middle supports so I didn't have to alter anything to make the platform sturdy.


Both Sides cut. Platform is 40x28.


Next, I cut four 17 1/2" long legs out of 2x6 lumber. That makes the height of the platform about 18" high.  


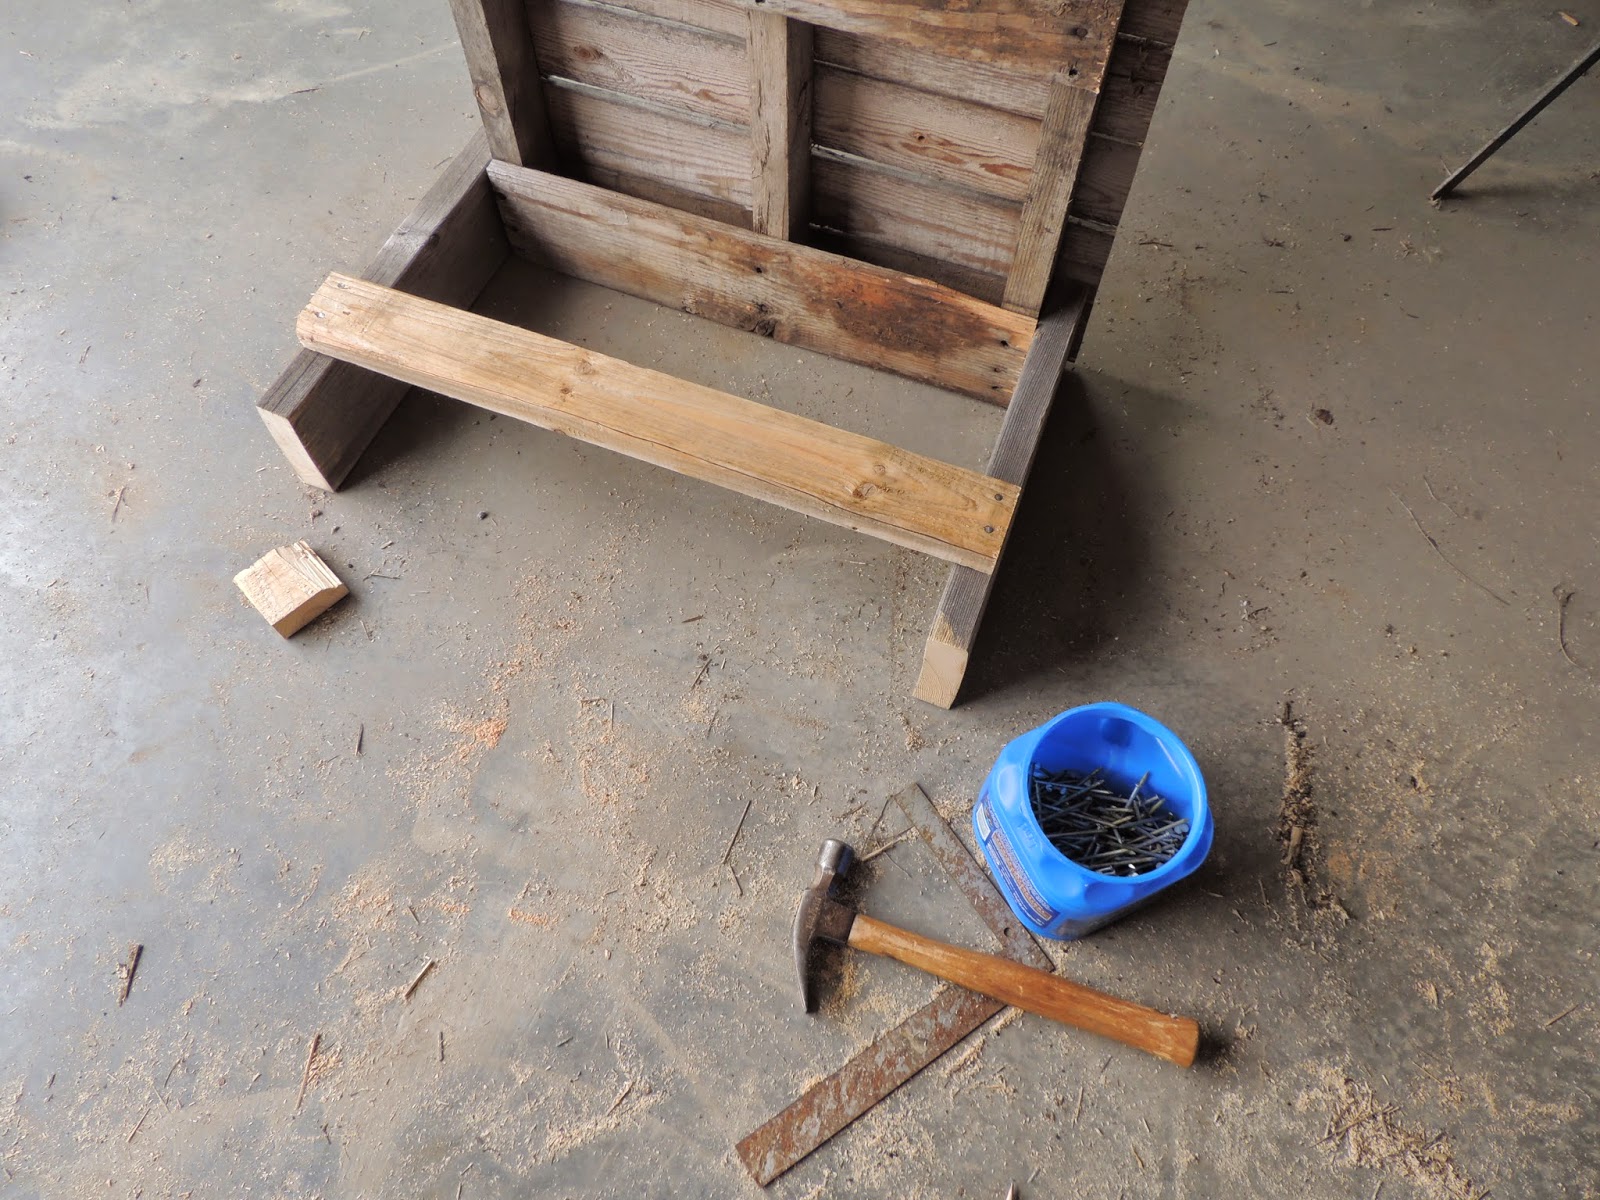
After attaching the legs to the sides, I made 2x4 braces for both sets of legs and one across one end of the pallet.


The head brace is made with two 4 1/2' 2x6s and three 27 1/2" 2x6 pieces.


Here is how the framing for the head brace looks assembled.


Cut the 1x4 into two pieces, one 41 1/2" long and the other 47 1/2" long. Find the center of the brace and measure 2" on either side. That leaves a 4" opening for the goats neck. Attach the shorter piece with screws. Use the bolts, washers and nut to attach the bottom of brace after drilling  through both brace and 1x4 piece. This side will adjust to let the goats head through and then lock it in place for milking.


Add a hook at the top of the long 1x4 to lock it in place.


I cut a piece of plywood to cover the pallet and screwed it down for a smoother surface. It may not be very pretty but it is very sturdy and I believe that it will last a long time. All it needs now is a coat of paint and it will be ready to use.

One thing that I did not build yet is the holder for the feeder. I want to buy one first before I do so that I can decide the dimensions.

Not bad for an afternoons work. Pretty proud of myself! Hope this gives you some ideas for your own stand.

Now I just need a goat!

Have a great Monday,
Tina:)


Monday, April 28, 2014

TARDIS Knit Dishcloth Pattern


At the risk of exposing my inner nerd, todays Make it Monday project is the Dr. Who blue Police Box better known as the TARDIS ( Time And Relative Dimension In Space ). For those of you who do not know what that is... I'm sorry (you can go on Netflix and find out). For those of you Who do...this one's for you! (Couldn't resist the pun.)

I first watched the Doctor with my father when I was younger. It was the 4th Doctor back then for those of you who are fans. I wasn't really into it at that time though. It was just a way to hang out with my dad. That and watching football games. As all series do, it eventually ended in 1989. Of course I had ceased watching it long before that.

In 2005, they resurrected the show and my siblings became avid fans soon followed by my mother. I resisted! All that I could remember were those corny 70's shows and had no interest in watching. My two youngest kids, Layne and Eric Jr., were exposed to the show after spending the night at Grandma's last year. They were hooked but I still wasn't interested. After a conversation with my Mom, I agreed to watch an episode as she totally loved it. What could it hurt, right?

Well, after just that one episode, I was hooked! I love The Doctor now! My boys and I watch it together on Family Night. My husband Eric and my three oldest kids don't watch though. They haven't got the bug yet but the boys have gotten my mother-in-law to watch with them. It really is a fun family show.

I always have to be doing something while I watch TV though. I like to feel that I'm accomplishing something while sitting there loosing brain cells. I knit, crochet, do needle work... whatever is handy. I have been into making washcloths lately so I decided to incorporate some of The Doctor into my crafting.

There are several patterns on Ravelry.com for Dr. Who themed cloths but I decided to create my own. If you can do a knit and purl stich then you can do this. I tried to keep it simple. (This pattern is my own original work and is for personal use only. It may not be reproduced for sale without my written permission.)


TARDIS knit Dishcloth

Materials: Medium weight cotton yarn & size 7 knitting needles.

Gauge: Don't worry about it! This is a dishcloth.

CO 37

Rows 1-4      K1, P1 across (seed stich)
Row 5           (K1, P1)2, K29, (K1, P1)2
Row 6           (K1, P1)2, P29, (K1, P1)2
Row 7           Repeat Row 5
Row 8           Repeat Row 6
Row 9           (K1, P1)2, K3, P23, K3, (P1, K1)2
Row 10         (K1, P1)2, P3, K23, P3, (P1, K1)2
Row 11         (K1, P1)2, K29, (P1, k1)2
Row 12         (K1, p1)2, P4, K1, P2, K5, P2, K1, P2, K5, P2, K1, P4, (P1, k1)2
Row 13         (k1, P1)2, K4, P1, K2, P5, K1, P1, K2, P5, K2, P1, K4, (P1, K1)2
Row 14         Repeat Row 12
Row 15         Repeat Row 13
Row 16         Repeat Row 12
Row 17         (K1, P1)2, K2, P1, K9, P1, K9, P1, K4, (P1, K1)2
Rows 18-29  Repeat Rows 12-17
Row 30         (K1, P1)2, P4, K1, P3, K1, P1, K1, P3, K1, P3, K1, P1, K1, P3, K1, P4, (P1, K1)2
Row 31         (K1, P1)2, K4, P1, K3, P1, K1, P1, K3, P1, K3, P1, K1, P1, K3, P1, K4, (P1, K1)2
Row 32         (K1, P1)2, P4, K1, P2, K1, P1, K1, P1, K1, P2, K1, P2, K1, P2, K1, P2, K1, P2, K1, P4, (P1, K1)2

Row 33         Repeat Row 31
Row 34         Repeat Row 30
Row 35         (K1, P2)2, K4, P1, K2, P5, K2, P1, K2, P5, K2, P1, K4, (P1, K1)2
Row 36         (K1, P1)2, P4, K1, P9, K1, P9, K1, P4, (P1, K1)2
Row 37         (K1, P1)2, K4, P1, K9, P1, K9, P1, K4. (P1, K1)2
Row 38         (K1, P1)2, P4, K1, P2, K15, P2, K1, P4, (P1, K1)2
Row 39         (K1, P1)2, K4, P1, K2, P15, K2, P1, K4, (P1, K1)2
Row 40         Repeat Row 38
Row 41         (K1, P1)2, K4, P1, K19, P1, K4, (P1, K1)2
Row 42         (K1, P1)2, P4, K1, P19, K1, P4, (P1, K1)2
Row 43         (K1, P1)2, K4, P21, K4, (P1, K1)2
Row 44         (K1, P1)2, P4. K21, P4, (P1, K1)2
Row 45         (K1, P1)2, K6, P17, K6, (P1, K1)2
Row 46         (K1, P1)2, P6, K17, P6, (P1, K1)2
Row 47         (K1, P1)2, K8, P13, K8, (P1, K1)2
Row 48         (K1, P1)2, P8, K13, P8, (P1,K1)2
Row 49         (K1, P2)2, K13, P3, K13, (P1, K1)2
Row 50         (K1, P1)2, P13, K3, P13, (P1, K1)2
Row 51         Repeat Row 49
Row 52         Repeat Row 6
Row 53         Repeat Row 5
Row 54         Repeat Row 6
Row 55         Repeat Row 5
Rows 56-59  Repeat Rows 1-4

Bind off.


Well, there you have it. My version of the TARDIS. I think that I will be creating other Dr. Who themed patterns so that I can have a whole set. How cool would that be!? Ok, ok... yes I'm a nerd. If you catch an error in the pattern, let me know. Those of you who love the Doctor as much as I do, enjoy!

Have a great Monday!

Tina:)         


Friday, April 18, 2014

Good Friday


Today is a day, at least for me, of reflection. It absolutely amazes me at how much God loves us. We are none of us worthy. It is humbling to think that Jesus Christ, who knew no sin, was willing to take on the sin of the world. To pay a price that He did not owe for a debt we could not pay. He was beaten, suffered and died all because He loves us and wants us to be able to be forgiven and dwell with God.

If you don't know Him, I pray that you would. I have so much love in my heart and such joy in my life because I do know him. He is an ever constant companion. He is strong when I am weak. He comforts me when I'm sad. He laughs with me when I am happy. He prays for me always. He is my best friend!

Know today, just how very much Jesus loves you! Accept Him and love Him back and I promise that your life will never be the same. He will be with you always!

Have a blessed Good Friday!
Your sister in Christ,
Tina:)

Wednesday, April 16, 2014

Naturally Dyed Easter Eggs


With Easter fast approaching, my interest in naturally dyed eggs has been renewed. In keeping with my goal of a more homemade and chemical free lifestyle, I felt this would be something to look into. Of course, if you have access to eggs from an Araucana chicken (sometimes called Easter Egg Chickens) there is no need to dye them as they are a variety of beautiful colors all on their own.

Now I know that Easter eggs are not really a Christian theme for the holiday but none the less, I know that it is something that many folks like to do. They are so pretty after all. So, I have searched the web looking for natural dyes that you could make with ingredients which you could find at your local grocery store. Here is what I found. 


It's safe and easy to make your own natural Easter egg dyes from common foods and flowers.
At Chemistry on About.com I found some excellent info on how to dye naturally. They even suggest to boil your eggs in the dye instead of soaking them after boiling which I thought would be a great time saver. Listed in their color chart are several different options for each color. I think that this is my favorite link for common ingredient colors.


Natural Dye Colored Easter Eggs


Big Sis Lil Sisas you can see put a beautiful spin on hand dyed eggs. She offers a tutorial on how to achieve absolutely amazing designs and colors on her eggs. I am in absolute awe of these. This will definitely be on my list of things to try. These are quite simply amazing!


For a no mess way to dye using Mason Jars eHow has an article written by 17apart that is eggcellent (ok, I couldn't resist). I use mason jars for so many things, now I have a new one. I will using this method with my various dyes.


 Last but not least,  Tried and Tasty  has a wonderful "how to" with tons of fantastic photos. Lots of recipes for various colored dyes. Great site!

So, now that I have the all of this info I am off to town to get my ingredients to make beautiful and natural egg dyes. I don't think that I will stop at eggs though. I think that I will be using these dyes for a lot of different projects as well. You could color fabric, fleece, homemade paper, stain wood and so many other things. I think that you could use these natural dyes on anything which would absorb them. I think that I have found a new hobby.

In closing, a reminder.... Easter is not about colored eggs, bunnies and baby chicks. It is about our redemption and salvation by our Lord Jesus Christ. That is the reason for this season.

God Bless!
Tina:)

Monday, April 14, 2014

Chewy Peanut Butter Chocolate Chip Granola Bars


One of my kids favorite treats is on the agenda today for Make it Monday, Chewy Peanut Butter Chocolate Chip Granola Bars. My children packed these in their lunch when they were in school and I even sent these to my son Joshua when he was stationed in Afghanistan with the Marine Corps. He told me that he had to start stashing them when I sent them so that his buddies wouldn't eat them all. They are always a hit!

It is a simple and pretty quick treat to whip up. The boys came rushing to the kitchen to see what I was baking this morning once that yummy smell wafted upstairs. It was hard to get them to wait until they cooled to have one!

Chewy Peanut Butter Chocolate Chip Granola Bars
(Makes 24 Bars)

Ingredients:
1 cup firmly packed brown sugar
2/3 cup peanut butter
1/2 cup light corn syrup
1/2 cup butter, melted
2 tsp. vanilla
3 cups quick-cooking rolled oats
1/3 wheat germ
1 cup semi-sweet chocolate chips

Directions:
Heat oven to 350 degrees. Grease 13x9 inch pan. In a large bowl, combine brown sugar, peanut butter, corn syrup, butter and vanilla: blend well.


Stir in remaining ingredients.


Press mixture evenly in prepared pan.


Bake at 350 degrees for 15-20 minutes or until light golden brown. Cool completely.


Cut into bars.


Optional Ingredients:
1/2 cup coconut
1/2 cup sunflowers nuts
1/2 cup raisins
2 Tbsp. sesame seeds
You can substitute carob chips if desired

I like to wrap them in waxed paper before I put them in the cookie jar to keep them from sticking together as they are chewy and gooey (Yum). It also makes them easier to grab and go when packing snacks or lunches. Not that they last all that long!

As you can see they are really easy to make and trust me, everyone will love them. You can add just about anything (or everything) in these to suit your own personal taste. Make it your own!

Enjoy!
Tina:)

Sunday, April 13, 2014

Expert Gardener Electric Trimmer / Edger Product Review

Spring has finally come (most days) so I am finally getting a chance to cleaned up around the homestead. Since the property had been vacant for well over a year when we moved in, there is a lot of work to do outside before we can even think about planting the garden, putting up a clothes line, installing and repairing fencing, erecting outbuildings and of course... animals!

We have given a lot of stuff to the kids as they moved out to help them get started. One of those things was our weed eater. It was a very nice gas powered model which I only used once or twice. Reason being that it was on the heavy side and really made for a 6' tall man. Too long and awkward for me to handle comfortably. So, I needed a new one to tackle our property.

My main criteria for the new trimmer were pretty simple.
    *Electric instead of gas (I didn't want to mess with mixing it)
    *Light weight
    *Won't break the bank (I am on a budget after all)

I started online, looking at the various stores in my area to find out who had what, how they rated and how much they cost. There are dozens out there and you can pay a pretty penny for some of them. I found one at Walmart that looked promising so I headed to town to get it.


I purchased the Expert Gardener 13" 4-Amp String Trimmer (Affiliate Link). You can have it shipped and then pick it up at your local Walmart for free. Best of all, it is only $28.97! Right up my alley.

I have to admit that I was a little nervous about buying such an inexpensive tool. After all, you get what you pay for... right? So, I took it home and crossed my fingers. Here are the specs...

    *4 Amp Motor
    *13 in. Cutting Path
    *2 yr. Warranty
    *The shaft rotates for edging.
    *Has an auto feed head.
    *Fold out edge guide.
    *Adjustable height
    *Weighs 5.2 lbs.
    *Uses .065 in. line

The trimmer comes in 3 pieces which are very easy to assemble. It's really a no brainer. Only tool that you will need for assembly is a screw driver for one screw. It also comes with extensive instructions (not just pictures) which is nice for a newbie like me.


After I put it together of course I had to try it out! I was really excited to use my new toy! So, the first project that I decided to tackle was the backyard between the house and the pasture. This is what I was up against.


Not a pretty site I know. I was super impressed with the way the trimmer performed though. I has good power with no hesitation. I love that it has adjustable height which means it will be comfortable for both my hubby and myself. The auto feeder worked great as well. Absolutely no complaints.  Here is the after.


Pretty impressive, huh! I still has some daylight left to burn, so I moved on to the front. I Had the same type of woody weeds there too. Here's how it turned out.


That was all I had time for on Friday. I was starting to feel some pain at this point anyway. After all, I was not very physically active through the winter (I admit it). Eric Jr. made dinner for me (the sweetie) and I headed for a nice soak in the tub!

Saturday I didn't want to get out of bed! Boy was I sore. But, no pain no gain right? I popped a couple Aleve and off I went for round 2. It was supposed to start raining in the afternoon so I just figured that I would work on the side yard and pasture until it did. (It never did rain!)

Before...


After...


I did way more than I really planned on doing. I just kept telling myself to keep going until it rained. As I said, it never did. All together I probably cleared an acre of land. It is a beautiful site though. This is supposed to be a product review though... so let me get back to that.

As you can see, I pushed this little machine pretty hard! Although it is really designed for your average suburban yard (pretty green grass) it is capable of much more! It never once quit on me. At one point, I had to use a total of 8 long extension cords to reach out into the pasture. It never lost a bit of power.

I would totally recommend this trimmer / edger to anyone! It is easy to assemble, use, is a work horse and you sure can't beat the price! Overall, a great little machine.

Well, after a hot showers to get off the grime, my comfy jammies and a hot cup of tea I was off to bed! A little sore today but I am super pleased with the result. I sat on the front porch this morning with my coffee just to look out at it. I am super blessed to live here. I love my life!

Have a great day of rest!
Tina:)

Monday, April 7, 2014

Free Book

This book is free from Amazon right now. I just downloaded it to my kindle app. I love it when I can get books for FREE! Check it out!


Happy Monday!
Tina:)

He Has Risen!

Easter is only two weeks away. So, in honor of our Lord Jesus Christ, this Make it Monday project is an Easter centerpiece. It depicts the  three crosses to remind us of His crucifixion and death which paid the price for our sin as well as the empty tomb which proved his resurrection, conquering sin and death. I found this idea on Pinterest. I was unable to locate the original source. Whoever you are... thank you for the inspiration!

This is a simple project that the kids can help you with. My youngest son Layne helped me out. You will obviously need to do this in advance of Easter Sunday in order for your grass to grow. (I really should have made mine sooner.) You can substitute moss or groundcover plants from your local nursery if you wish to do this as an Easter project.

This is the photo which inspired my project.


Our scene is similar to this although I had to improvise on some of my materials. Here's the list of what we used.

1 plastic oil pan (couldn't find a terracotta base large enough)
1 small plastic pot
Dirt from the yard (Free!)
Small stones + 1 large rock for the tombstone (also from the yard)
Several small twigs
Raffia
Grass seed


This is all that I purchased. Everything else was found around the house. All together it only cost me about $5.00 at Walmart.
 

Layne filled our pan with dirt from the yard. 


We buried out pot sideways in the dirt making our tomb mound. Found the perfect flat rock for the tombstone out in the field along with smaller stones for our path. (No shortage of rocks on the property here!)
 
 
We needed sticks for our crosses so we went across the field to hunt for some since we don't have any trees yet on our property. Farmer Fred has a wooded spot in his field where we found lots of twigs. Thanks Fred!
 

Next we added our grass seed. I moistened the soil first with a spray bottle and then spritzed it again after seeding to water it.


To make our crosses we cut our twigs to length and tied them together with some natural raffia that I had on hand. I think that it turned out really great! Hopefully the grass will sprout before Easter but, even if it doesn't, it is still a wonderful reminder of what this season is all about.

"But the angel said to the women, "Do not be afraid, for I know that you seek Jesus who was crucified. He is not here, for He has risen, as He said. Come, see the place where he lay.""                  Matthew 28:5-6

Enjoy making your own resurrection scene and have a great day!
God Bless!
Tina:)