
Who needs a milking stand? Todays Make it Monday project is a DIY for the homesteader. I built this stand today with materials that I had on hand around our place. Honestly this didn't cost me a dime today! Almost everything is from FREE materials. Gotta love that!
Now, I know that I don't have a milking goat yet... I believe in being prepared though. This last week I started building our goat barn. With help from my daughter Janie and son Eric Jr., we erected the walls. I still have a lot to do on it though. Frame the entrance, reinforce with some 4x4s, put a roof on it and install stalls. It is defiantly a work in progress. Here's a photo of how it looks so far. I'll post more as it progresses.

Today however, I decided to build my milking stand. You can use it for more than just milking though. Anything that you would need to keep your goat still for (hoof cleaning & trimming, shaving, vaccinating) can be done on this stand. Since I plan on purchasing a doe in milk, this is something that I would need to have in advance. Now I do.
Tools that I used for this project were:
*Chop Saw
*Circular Saw
*Drill
*Hammer
*Tape Measure
*Pencil
The stand was made using the following materials that I had.
*40x40 pallet
*scrap plywood
*scrap 2x6s
*scrap 2x4s
*scrap 1x4s
*roofing nails
*assorted screws
*carriage bolt & nut
*washers
*latch hook
As I said, all of these materials were free. The only things which I paid for (so long ago that I couldn't even tell you how much they cost) were the latch, screws and plywood. The pallet and other wood scraps were here on the property when we moved here. Score!

I snapped a chalk line and cut the pallet at 28" for the base. This pallet has two middle supports so I didn't have to alter anything to make the platform sturdy.

Both Sides cut. Platform is 40x28.

Next, I cut four 17 1/2" long legs out of 2x6 lumber. That makes the height of the platform about 18" high.
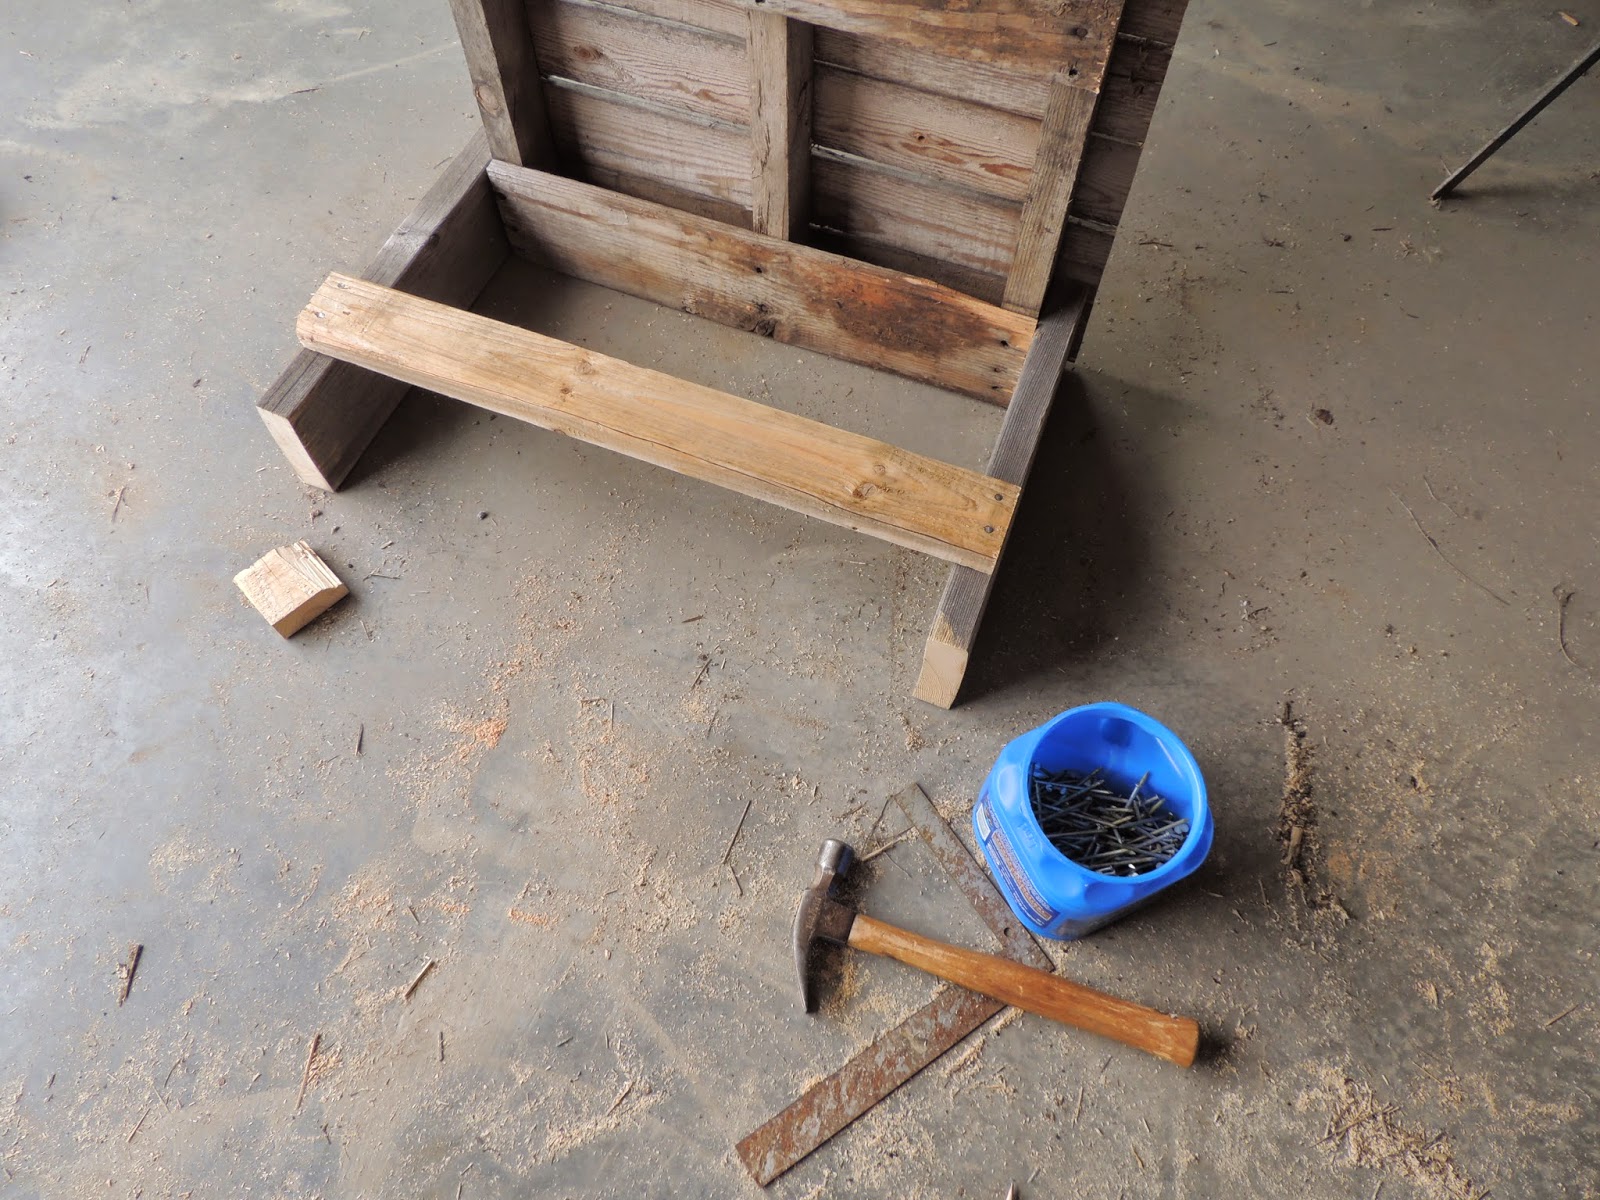
After attaching the legs to the sides, I made 2x4 braces for both sets of legs and one across one end of the pallet.

The head brace is made with two 4 1/2' 2x6s and three 27 1/2" 2x6 pieces.

Here is how the framing for the head brace looks assembled.

Cut the 1x4 into two pieces, one 41 1/2" long and the other 47 1/2" long. Find the center of the brace and measure 2" on either side. That leaves a 4" opening for the goats neck. Attach the shorter piece with screws. Use the bolts, washers and nut to attach the bottom of brace after drilling through both brace and 1x4 piece. This side will adjust to let the goats head through and then lock it in place for milking.

Add a hook at the top of the long 1x4 to lock it in place.

I cut a piece of plywood to cover the pallet and screwed it down for a smoother surface. It may not be very pretty but it is very sturdy and I believe that it will last a long time. All it needs now is a coat of paint and it will be ready to use.
One thing that I did not build yet is the holder for the feeder. I want to buy one first before I do so that I can decide the dimensions.
Not bad for an afternoons work. Pretty proud of myself! Hope this gives you some ideas for your own stand.
Now I just need a goat!
Have a great Monday,
Tina:)
No comments:
Post a Comment