Showing posts with label Sewing. Show all posts
Tuesday, March 25, 2014
A Sweet Seat
It is such an absolutely beautiful spring day today that being outside on the property is a must! Lots of prep work for the garden to be done. Only one problem... my favorite work around the house and yard jeans are showing their age.
My poor jeans have defiantly seen better days. They are just about thread bare. There is a large hole in the left knee but that doesn't bother me. Isn't that fashionable right now anyway? No one could say that I'm not in style!
The problem is the large rip in (you guessed it) the seat! I love these jeans though. So, before the work outside can proceed, I'll have to mend them. Hmmm... what to do.
My favorite pair of shorts when I was a teenager was actually a pair that I swiped from my mom. It was a pair of cut off Levi button fly jeans. They were a perfect fit! The thing that I loved best was the patches on the butt. They were flowers and hearts (a definite product of the sixties). So cute! I always wore them with my bright orange "Hang Loose" t-shirt that I brought back from Hawaii (the shirt was cut short of course because... it was the 80's). Loved that outfit. I would share a picture if I had one. For how often I wore them, I'm surprised that I don't. Mom eventually confiscated them, much to my dismay. I should see if she still has them and take them back.
Anyway, when I was deciding how to mend my jeans that is what popped into my head. I decided on the hearts. Quick and easy. I always have tons of denim around so I picked out a contrasting swatch, I used three different colors of thread to sew the hearts and left the edges raw so that they would fray when washed. It only took about 20 minutes and my old friend was good as new!
Now, I don't usually take pics of my rear, but I wanted you to be able to see the end result. My husband will be thrilled though! Over the years he has taken hundreds of photos of my back side! At least now, with digital cameras, I can erase them and not pay good money to develop them unaware. So, this one's on me honey. They turned out cute if I do say so myself!
Now that my jeans are mended though, it is time to enjoy this day. I'm off to the garden! Hope it is nice where you are too. Till we meet again....
Tina :)
Monday, March 3, 2014
The Nose Knows!
My quest to eliminate all paper products from my home has inspired this weeks Make it Monday projects. Today we will make tissues and handkerchiefs. These are two super quick and easy ways to cut down on your families waste of money and natural resources.
It is still cold and flu season around here soon to be replaced by allergy season. We use a lot of tissues at our house year round. Seems that someone is always blowing their nose! My hubby always has a hanky on him but the rest of us have always used disposable tissues. It doesn't seem to matter which brand you buy though, even if you use the "super soft" ones with lotion you always end up with a sore red nose. No more though! Now we are using the softest tissues you could imagine. Flannel.
Now these are made the exact same way that we made our fabric napkins before so I won't go into a huge amount of detail. Just a few quick tips.
I purchased a whole bolt of white cotton flannel when it was on sale at JoAnn Fabrics a while back. I seem to use it for everything! This is what I decided to make my tissues out of. Now, your average tissue measures approximately 8 to 8 1/2 inches square. Since I want to recycle my old empty tissue boxes, I decided to keep them about the same size.
First step is to wash and dry your fabric to pre-shrink it.
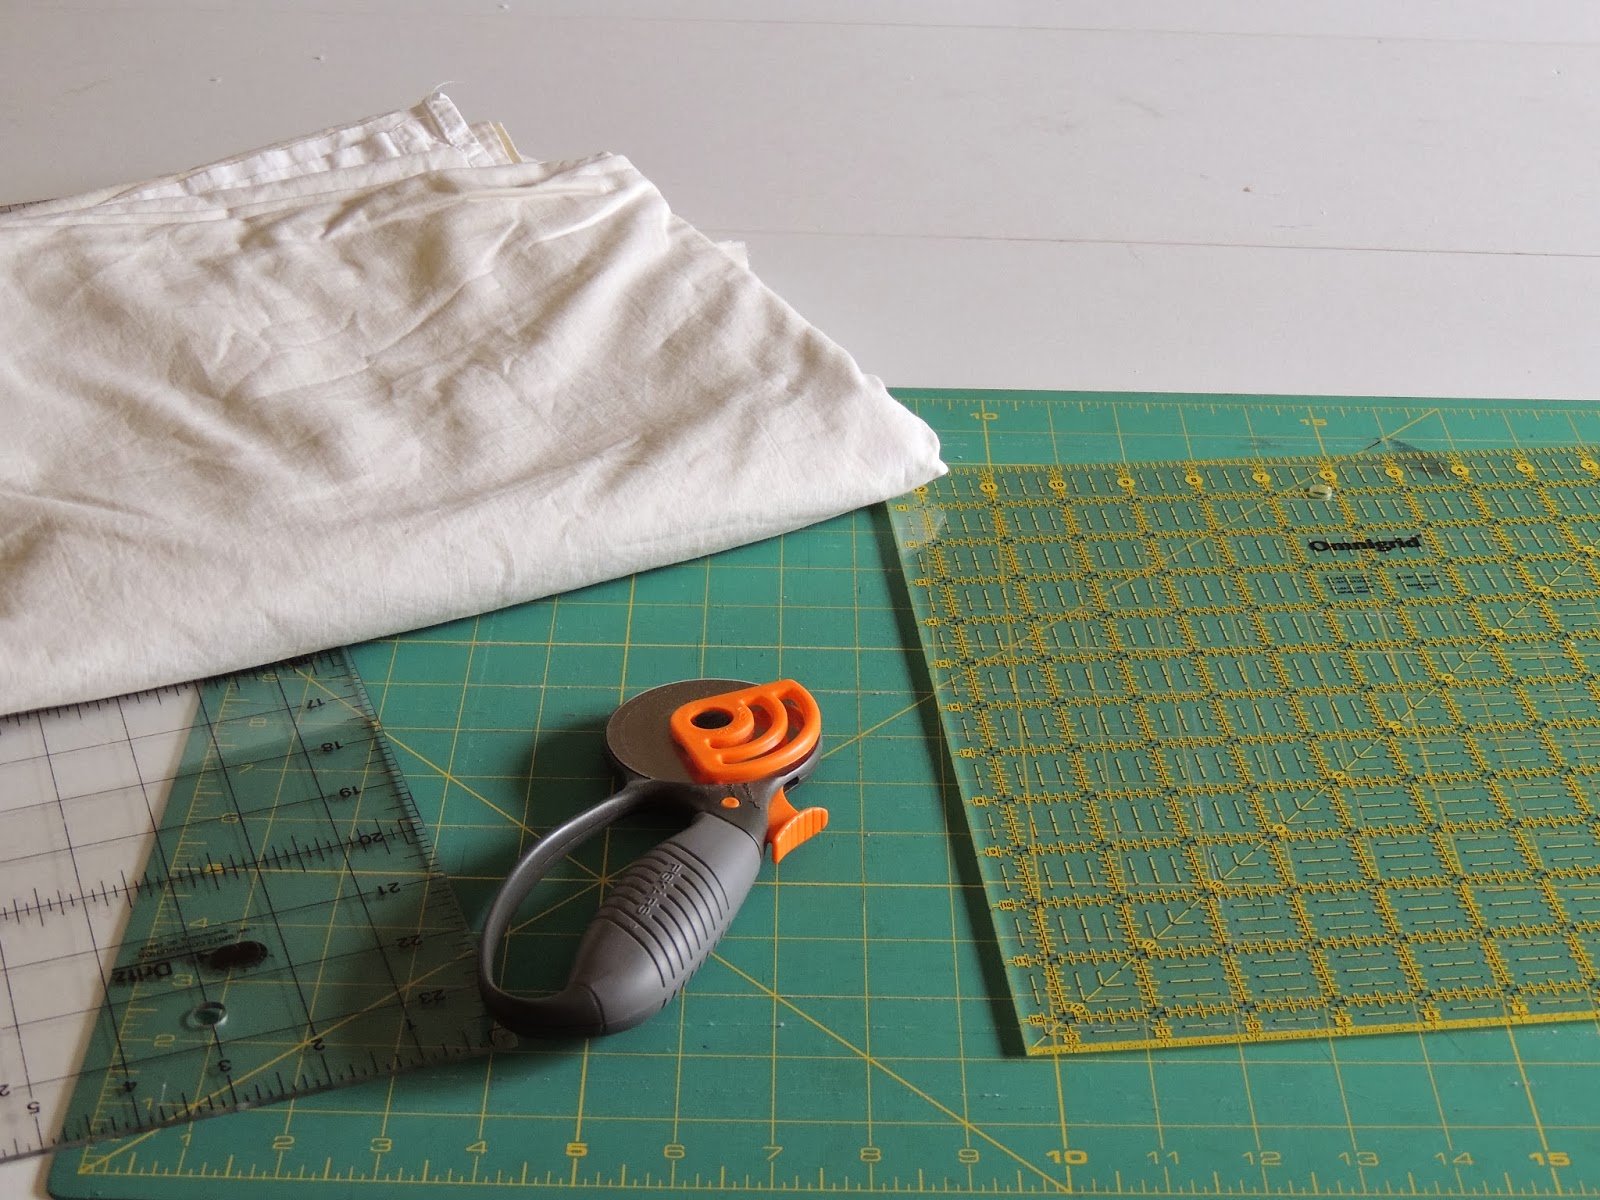
Next, I cut 9 inch wide strips (to allow for the serged edge) followed by using my quilting square to cut the strips into 9 inch squares.
Then you just need to serge around your edges and your done. I made a couple dozen to put in several old tissue boxes around the house. I love how these feel on my nose! Much better than paper!
For the handkerchiefs, the process is exactly the same except for the size, material and the finished edge. I have a king size cotton top sheet that my old washing machine ate. I was so mad! It literally ate holes in the sheet and ripped part of the top edging off. I have been holding on to it because it is really nice material and I knew that I could eventually use it for something. Now I am!
If you don't have anything around the house to repurpose, I would recommend a medium weight muslin or cotton fabric. It is inexpensive and if you have a JoAnn Fabric & Crafts near you, sign up for their mailing list, they always seem to have coupons for fabric.
I decided on 12 inch square for my measurements as that is about the size of the cotton hankies that I have bought my husband in the past. Cutting off the edges and working around holes, I was able to get 50 squares. We will have plenty of hankies for a long time!
For the edge I decided to use the rolled hem foot on my regular sewing machine. Now, I have never used it before so I went on YouTube and found several tutorials that helped. I advise it if you are just starting with the foot too because it is a bit tricky. After 50 hankies I am sure to get it down though. Here is what the foot looks like.
If you don't have one of these, just fold over your edges 1/8 inch, press, and fold over again straight stitching close to the edge of your fold.
After stitching around all sides you will have your own handmade handkerchief! Of course, I couldn't stop there. I wanted to add a little detail to them to make them more special. So, I used a decorative leaf stich along one side. I think they turned out really cute. So glad I made these!
There you have it. Two super easy ways to eliminate another paper product from your home. Bravo for you! Hope you enjoyed this. Back next Monday with something a little different for you. Have a super day!
Tina :)
Monday, February 24, 2014
DIY Stick Mop Cleaning Pads
Welcome again to MAKE IT MONDAY! I trust you had a restful weekend and are ready to jump into another fun sustainable home project! I am having so much fun here on the homestead crafting ways to make our lives better. I hope you are enjoying it so far.
Todays project as you can see is making reusable cleaning pads for my new stick mop. A little background info before we start though.
I have used a bucket and mop for cleaning my floors forever. I even used a Swiffer for quick clean ups for a while. The refill pads can get expensive though if you use it a lot. Since I have switched to natural cleaning products I was looking for a way to save on my ingredients while cleaning as well. I hated to mix up my cleaner in the bucket and soon after have to dump it and remix when the water got dirty. So, I decided to look into stick mops with a reservoir for my cleaning solution.
I visited my local Walmart to see what was available. There are a lot of different models out there now. All stick mops are not created equal though! Here is a general review of what I found and my impressions.
Some models serve as a vacuum or steamer and mop together. I have a vacuum, broom and steam cleaner so I don't need those features. Plus, most used batteries or had to be plugged in to power the unit. Not interested!
Many do not have a refillable cleaning solution reservoir. They want you to buy their pre-packaged chemicals. Now I have seen pins on Pinterest where people have figured out ways to refill those bottles but for me that is too much work.
Others are your basic stick mop with refillable reservoirs and have various sized heads and cleaning pads. I eliminated those with hard plastic heads and sharp corners. My concern was scratching walls and baseboards. Next I ruled out those with Velcro attached cleaning clothes. I knew that I would be making my own replacements (the refills they sell can be pricey) and I have found in the past that after a while, Velcro seems to not want to stay attached.
So, what did I end up with? A Dirt Devil Spray+Mop with Swipes. It has an easily refillable reservoir which holds a decent amount of my homemade cleaner, swivel head which is not to large to get around toilets and narrow spaces and rubber ends on the head which flexible enough not to mar any walls, furniture or baseboards. Not to mention there was an attached $3.00 off coupon attached by the manufacturer. I just couldn't pass it up. It's perfect! Now, on to our project.
I went to my local dollar store and bought a couple of microfiber cleaning cloths. I chose the ones with mesh on the back because I thought it would lend a little more durability.
Now the refill pads you buy have a foam core. I needed an absorbent layer. I happened to have a brand new package of chamois cloths at the house that had been given to my hubby as a gift. FREE! The only other thing required was elastic strapping to hold it in place on the mop. I happened to have some (yes I'm a pack rat) which was cut off an adjustable medical belt. Perfect for what I needed! I would imagine that any absorbent fabric would do. Terry cloth, thin sponge material or layers of flannel would work as well. Right now JoAnn Fabrics has flannel on sale for 60% off. Solids are $2.40 a yard. Great deal if you would like to use that! Whatever you choose, all of your materials for this project can be purchased at your local craft or sewing store.
I first traced the pad which came with the mop on my chamois cloth and cut them out.
Next, pin and sew the elastic to the chamois. I used a simple straight stich on my machine. Make sure you stich around the whole end of the cloth so it holds better to the mop.
Now pin your chamois piece with elastic sewn on to your microfiber cloth with wrong sides together. Make sure that the elastic is facing up and the microfiber down. (You can see the stitching around the end of the elastic in this pic)
I know that not everyone has a serger, so I decided to sew this with a regular machine. I did a satin stich around the entire edge. I chose to sew before I cut the microfiber to make the edges easier to handle. This is what it looks like.
Cut around your cloth making sure not to cut your stitching. I then sewed three lines of straight stich down the center to hold everything in place. I didn't measure anything, I just eyeballed it. Just don't sew over your elastic.
You have now made your own stick mop replacement cloths! Yeah for you!
I have found that I prefer my homemade ones to the one that came with the mop. I made up several so when I'm mopping, when they get dirty I either switch it out or rinse it out and keep going. Throw in the wash and lay flat or hang to dry. So easy!
I love being able to use my own cleaning solutions with ease in my home without the waste. I know it probably sounds silly, but I can't help smiling when I mop now knowing that I made these and my cleaner myself! I hope that this inspires you to give it a try. Mopping can be fun!
Have a blessed day and I'll see you soon.
Tina:)
Monday, February 17, 2014
DIY Fabric Napkins
Happy Monday everyone! I trust that you all had a wonderful Valentines weekend. Today is President's Day so most kids are out of school, so have a fun day today.
Saturdays are my "play day" right now. I take a break from the everyday stuff (cleaning, laundry, homeschool, shopping, etc...) that I do during the week and do something fun for me. It could be crafting or baking, spinning or sewing, making products for my online shops, or whatever floats my boat on that particular day. This last Saturday, I decided to sew some fabric napkins. I am working towards eliminating all the paper products in my home. I thought that this would be a good and simple place to start.
So, welcome to Make it Monday! I will try to post a new DIY project each Monday. It could be anything from sewing projects, cooking, woodworking, gardening, or whatever I am currently working on. It should be fun so check back for the latest and greatest on Mondays. This week will be my fabric napkins project.
First, here are some stats on paper napkins for you to think about. I did the math as to how much I could save a year by not buying paper napkins. If my family of 4 used one napkin at each meal, (I won't count snacks) that is 12 a day. Multiply that by 365 you get 4,380 paper napkins a year. I went online to Walmart.com and a 200 count package of Bounty paper napkins is $2.97. With tax that's $3.15. Ok, 4,380 divided by 200 is 21.9 which we are going to round up to 22. I will add one additional package for guests, parties, holidays to make it 23. $3.15 x 23 = $72.45. Now that is a very conservative number as it doesn't allow for messy meals and the actual cost of birthday napkins and such. Not a huge savings but every little bit counts.
A little more food for thought...
*Paper napkins consume natural resources and pollute landfills.
*Napkins bleached with chlorine may contain dioxins and other toxins.
*Paper napkins are thin, tear easily, may not absorb well and may be abrasive to the skin.
I happened to have a couple of tablecloths for a round table, that I no longer have, in the closet. They are 100% cotton so I figured they would be perfect for my napkins. The bonus is that one was a gift (still new in the package) and the other a hand-me-down so both were free. SCORE!
I love to repurpose things whenever I can. It's always better to give something a new life instead of throwing or giving it away. I like to get every last bit of life out of everything I have. It is not only a great thing to do but has saved me a ton of money over the years. Now, use whatever you have handy. I often have top sheets that are still in good shape after the fitted sheet is worn out. I like to use those for projects. If you don't have anything to repurpose you can always purchase fabric at your local fabric store. Just make sure it's on sale!
I did a quick wash and press of my tablecloths (since one was new) and folded them in half to do some measurements. Now, here is where you'll have to do your own math. Depending on what you are using you will have to decide how large and how many napkins you can get out of your fabric. "Fancy" napkins can be as large as 21" square. That is kind of big for everyday family use so, I decided to make mine 12" square. It seemed a good size for us and gave me the most use of my materials.
After deciding on my measurements, I folded the cloth again so that I could cut my 12" strips with my rotary cutter. If you don't have one, you can usually buy a starter set at your local fabric or craft store, or simply mark and cut with shears.
I then cut my squares from my strips using my quilting square as a guide. This gave me 12 squares. I had a chunk left, and since I hate to waste anything, I cut 4 additional 6x9 inch mini napkins. (Who says napkins have to be square!) All together that gives me 16 napkins.
Now, there are a couple of different ways that you can finish off the edges of your napkins. I chose the quick and easy serger. (Another hand-me-down, thank you Grandma Peggy!) You could also fold over 1/4", press, fold over again, and straight stitch the edge with a regular sewing machine or by hand. Or, if you have a rolled hem foot for your machine (serger or regular machine) you could used that. Whatever you have access to and works best for you.
Some fabric napkins that I have seen surged have rounded corners so that you can go all the way around without stopping. Granted that is easier and you can do it that way if you like. But, I am a purist at heart (and a little OCD) and prefer nice square corners. They are a little more work but it makes me happy, and that's what it's all about. Right?!
Well, whatever your finishing method...you're finished! I am really pleased with how they turned out. All together I was able to make 32 fabric napkins out of two table clothes. I think that my family will enjoy using them for years to come and this will be one less paper product in my home. Yeah!!!
I hope that you enjoyed this project. Check back next week for my next Make it Monday. Since this has been my very first tutorial, please feel free to comment if there is something unclear or that I could improve on. Also, if there is a DIY you would like, let me know and I'll see what I can do.
Thanks for visiting. See you soon!
Tina
Subscribe to:
Posts (Atom)