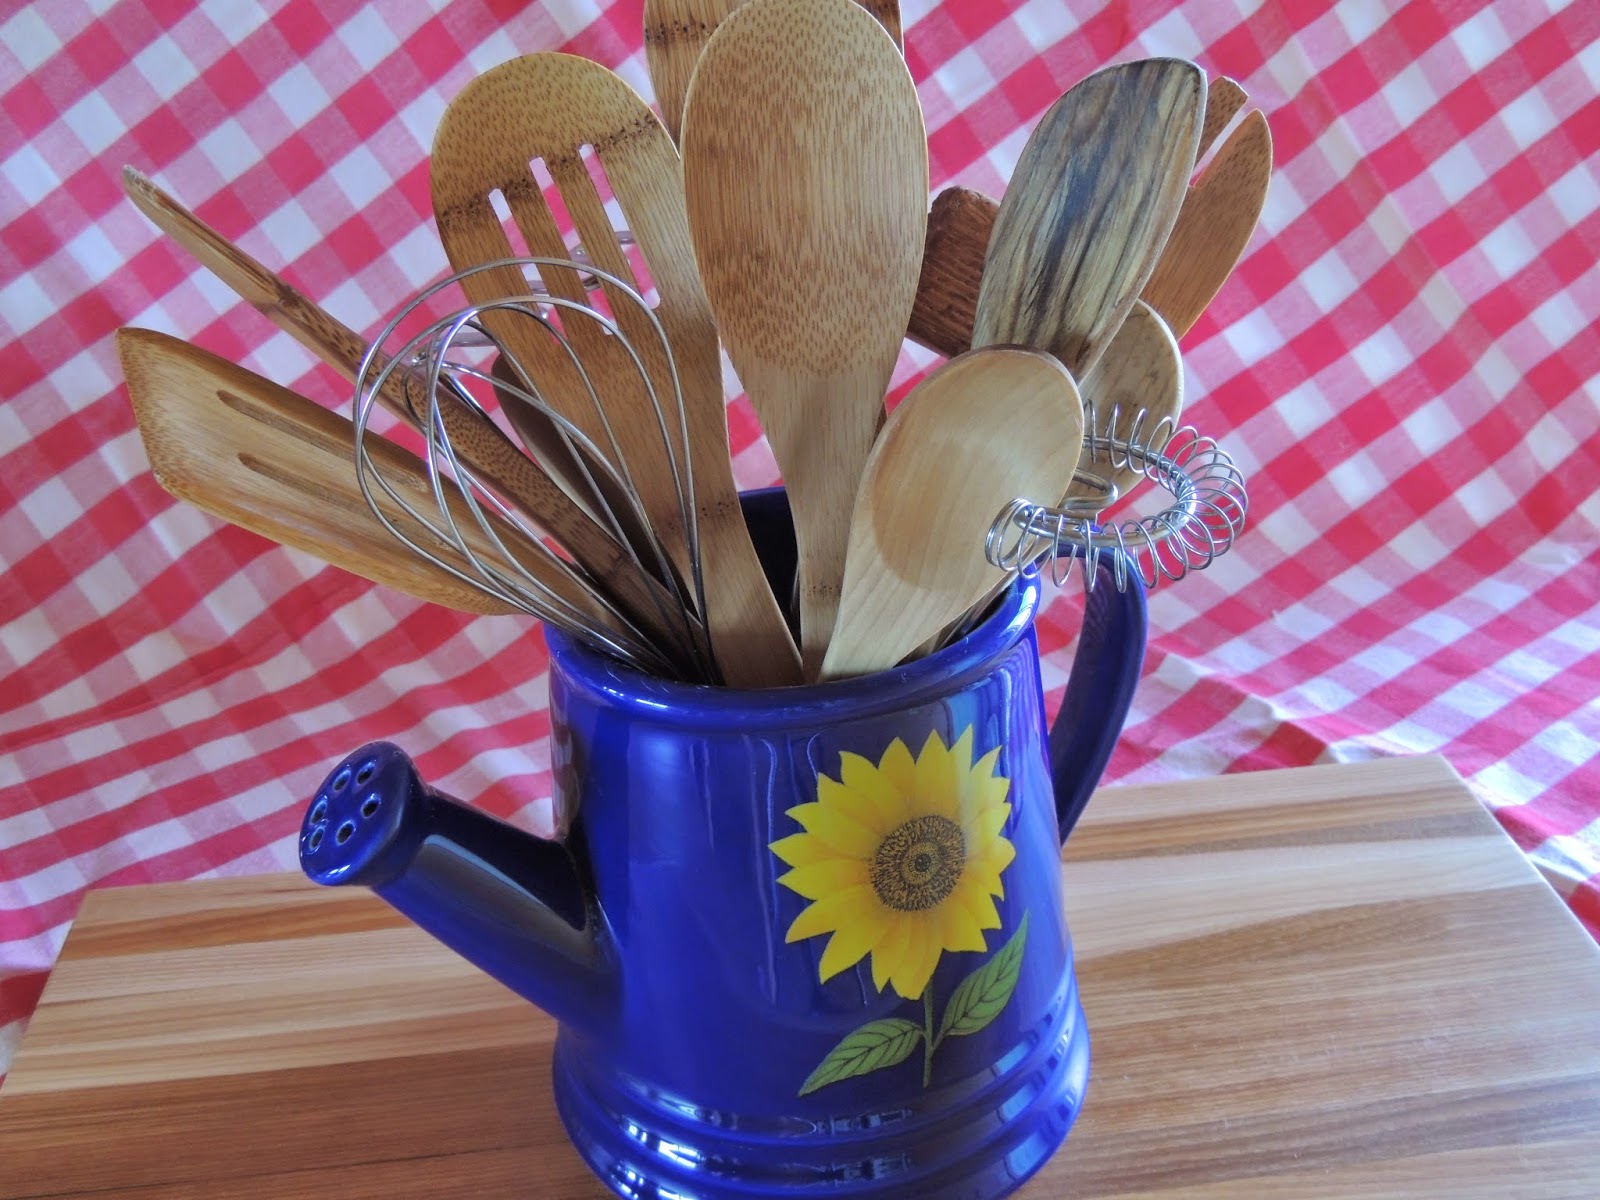
My wooden spoons and utensils are my favorite go to items when I'm cooking and baking. I have gone through dozens of them over the years. Not only are they handy in the kitchen, they instill heart stopping fear when whacked against a door frame followed by your "angry" voice. (I've broken more spoons that way.)
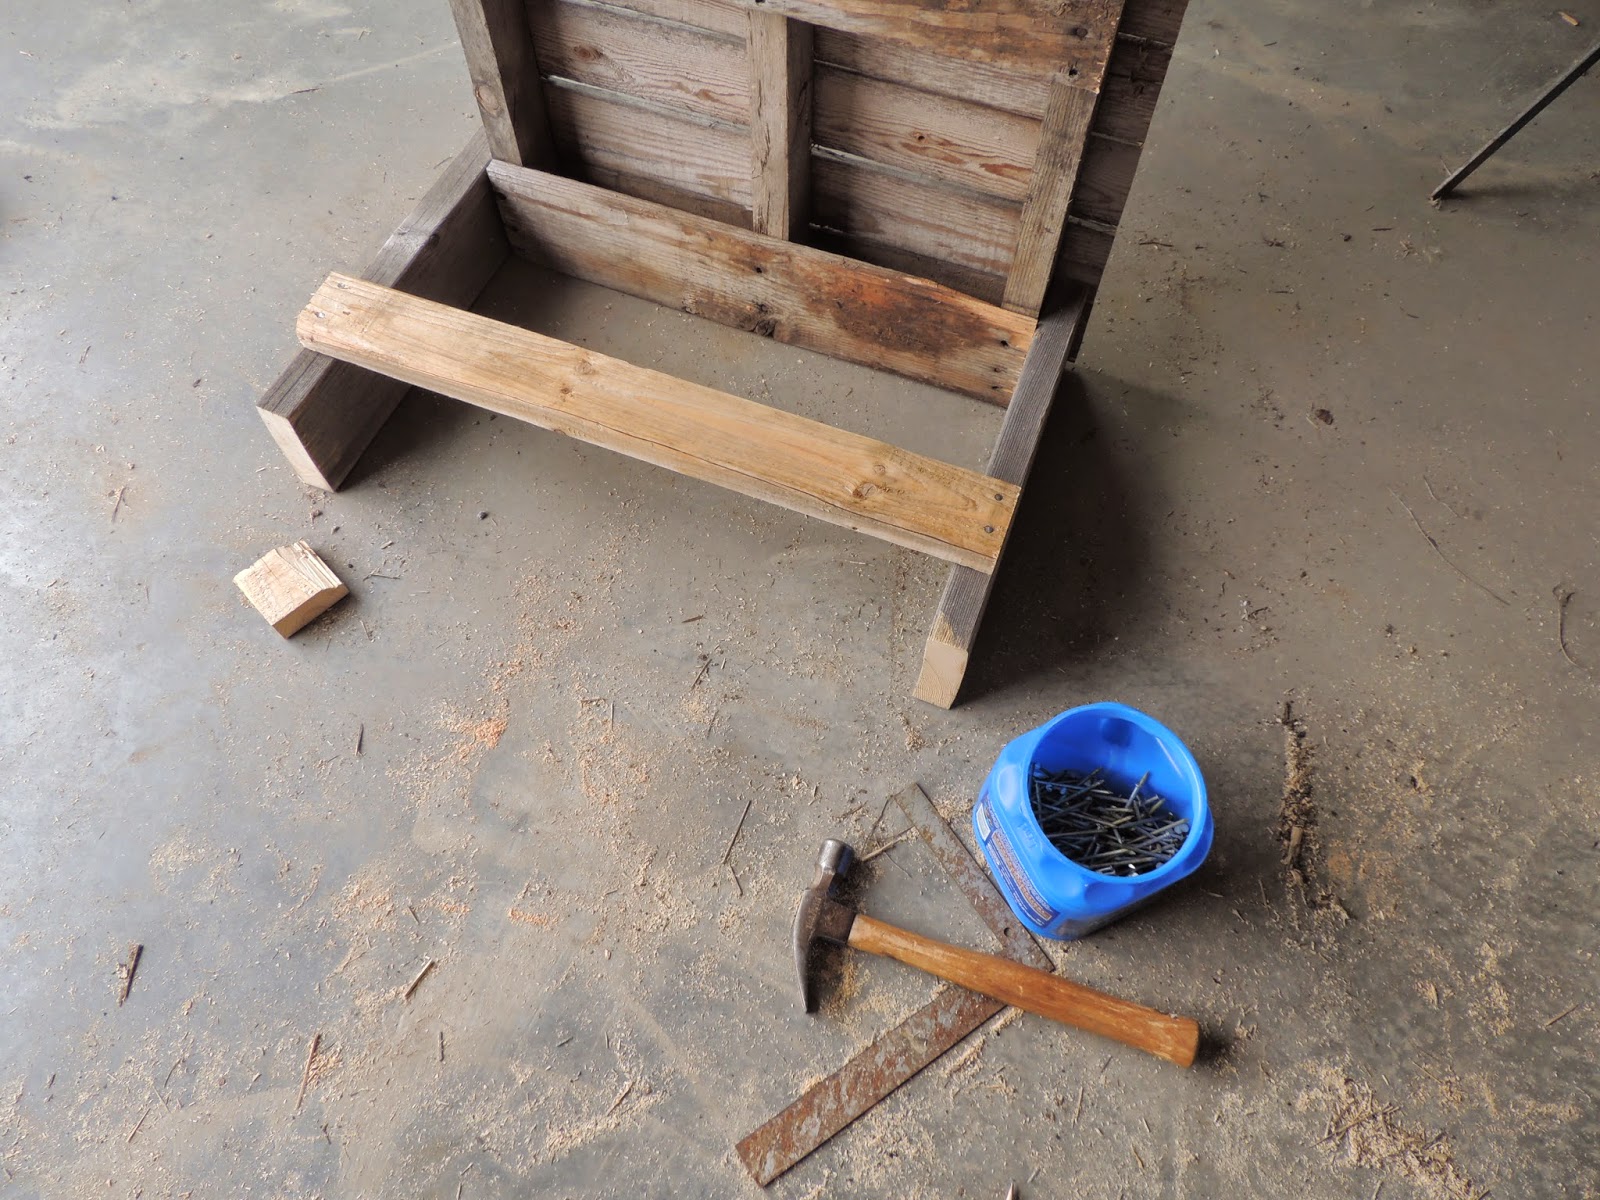
Lately they have been looking a bit worse for wear, so I thought that I should look into ways to keep them at their best. Also, my Father-in-law made me a beautiful hickory wood cutting board for my birthday this year. I wanted to know what the best way for finishing it so that it lasts for a good long time.
First we will discuss the properties of wood. Trees have natural antibacterial properties. When wood is cut from them, the tree doesn't cease to retain these properties. Your wooden spoons and boards still contain their antibacterial structure. Several years ago, plastics manufacturers convinced everyone who would listen that plastic was much cleaner and safer to use. Not True! Plastic not only contains harmful toxins but actually harbors bacteria in all the cracks and crevices. Wood is better!
Now, I season my cast iron with lard but I knew that probably wouldn't be appropriate for wood. Surprisingly though, some people do this. They also use olive oil and various vegetable oils as well. Overstock.com even recommends it for the wooden cookware that they sell. Lard & other animal fats, olive oil & vegetable oils go rancid and become sticky after time though. So I didn't want to use those.
I found that the main thing that people are using now is food grade mineral oil. It is touted to be a food safe & natural product. So, off I went to buy some. It was very inexpensive at the pharmacy, but I started reading the label before I bought it. I'm glad that I did. Although it is approved for human consumption, it is a petroleum based product. As I began reading the warning label regarding children, pregnant women and such, I decided that I wasn't comfortable cooking my families food with utensils coated in mineral oil. Back to the beginning!
Next line of research was searching for what woodworkers actually use when they create these things. Although most of them use the mineral oil, I did find a couple that use an alternative... Walnut Oil (affiliate link). Eureka! I had finally found my natural preservative for my wood ware.
Walnut oil is made from English walnuts (sometimes called Persian walnuts). It is made mostly in England, France, Australia & New Zealand but also in California. What makes it idea is because it dries quickly, doesn't yellow, it is edible & resists oxidation and rancidity. It also hardens over time. It is not terribly common though, so it is a little harder to find. It sounded perfect though!
After reading up on the different ways to use walnut oil, I decided to do a two step application. First step will be oil alone & the second step will be an oil/beeswax mix. I'm getting ahead of myself though. First you need to get your wood prepped.
The items that you will need to rejuvenate all of your wooden spoons/utensils & cutting boards are...
* Fine sand paper (I used 220 grit)
* Clean rags (preferably cotton)
* 100% Walnut Oil
* Organic Beeswax (affiliate link)
* Double Boiler pan (I used a pot and a mason jar)
* Form for wax (canning lids is what I used) optional
If any of your wooden items are cracked, don't use them for cooking. If you want to display them decoratively that's fine. Discard them if not. Sand down any rough edges or anywhere the wood grain has raised. Get any fuzzy spots too. If your cutting board has deep cuts in it you will want to sand down the surface as well. Make sure that you go with the grain when sanding. You want it to be nice and smooth. I sanded all my utensils and my cutting board. Wipe down everything down after you are done with a dry cloth.

Next, I applied a liberal coat of walnut oil to everything. The spoons that I have had for a long time, I only needed one coat. I put three coats of oil on the cutting board because it is new and has never been treated. Allow 24hrs between coats to let the oil soak in. Go with the grain in this step too. You want to get to the point where the wood won't absorb any more oil. Wipe it down with a dry cloth to clean off any excess. The oil has a nutty smell that I really like.

After applying the oil, if you have new wood that you are treating for the first time, you may have spots where the wood has swelled and feels fuzzy again. Just lightly re-sand and wipe down those areas. If it appears dry afterwards, you can apply more oil.
Next, I made my oil/wax. I decided on one part walnut oil (1/3 cup) and two parts beeswax (2/3 cup). I knew that I wouldn't need that much for this project but I won't have to make it again next time I want to re-season or if I buy anything new that needs an initial treatment.
I used a pot with a vegetable steamer pan and a mason jar to melt everything together. Initially, I melted the wax and then added the oil but, oops, the wax hardened back up due to the cooler temperature of the oil. So, just add them together and stir until melted and blended. I used a wooden skewer stick to stir.

After it is done, I poured the wax into canning lids. I put them on waxed paper just in case any liquid seeped through. Let them cool and set up. You could just let it harden in the jar but I found that it is easier to apply the wax by rubbing it directly on the wood.

Now that I had my was pucks, I simply rubbed the wax directly on the wood. I snapped them in half to make application easier. The warmth of your hands and the friction of the wood make it easy to really get a good thick coat on. Don't worry about going with the grain on this step. Just work it into the wood well. If you end up with a bunch of little broken pieces that is ok. You can always re-melt it.

The final step is to buff the wax. I used a new chamois cloth for this. If you have ever waxed wood floors or your car, it is just like that. Rub until the surface is smooth. Beeswax is not a high gloss wax but it will have a nice sheen.

That is all there is to it. I know that it is a lot of steps and takes a few days if you have to add multiple oil coats but it is well worth the time and effort. With proper care and maintenance, your wood will last a lifetime.

To insure that your wooden kitchen wares are at their best, here are a few tips.
* Never put wood in the dishwasher. It will dry out and crack.
* Don't let your spoons "soak".
* Wash in warm soapy water by hand to clean.
* Periodically inspect for cracks or damage. Re-treat as needed.
***A WORD OF CAUTION***
If you, a family member or someone that you cook for has nut allergies, you may not want to use Walnut Oil! I do not know if they would have a reaction, but I would err on the side of caution and not use it. There is Cutting Board Oil(affiliate link) available.
Tina:)